One of the most popular makeup looks in the whole world is the Sugar Skull, the traditional makeup to the Day of the Dead. We have prepared a really diamond sugar skull look for you. This is not classic, but very easy and impressive way to intersperse this makeup. All you need is to follow this step-by-step tutorial.
Step 1
First, apply a moisturizer on the face to help prepare the skin. We used Embryolisse Lait-Crème Concentré, Face & Body Moisturizer.
To begin, prepare the skin with a moisturizer. We used Embryolisse Lait-Crème Concentré, Face & Body Moisturizer.

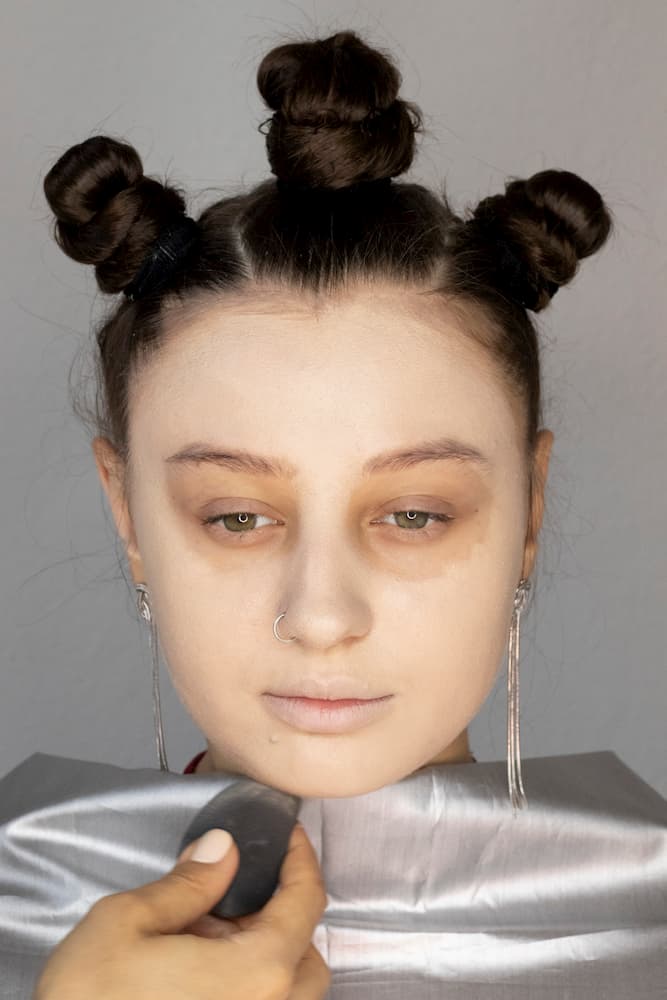
Step 2
Next, you want to apply foundation, avoiding the area around your eyes. It’s best to use a foundation lighter than your natural skin tone so that you get the pale skull effect. Set the foundation with a powder or a white eye shadow.
We used BECCA Skin Love Weightless Blur Foundation. Another foundation that we like is L’Oreal Paris Makeup True Match Super-Blendable Liquid Foundation, they have a wider range of shades available and the affordability is a plus.
Then, apply a lightest foundation you have over the face, to make the skin look pale, not absolutely white. We used BECCA. Avoid the area around eyes. Set in the foundation with powder or white eyeshadow.
Product:
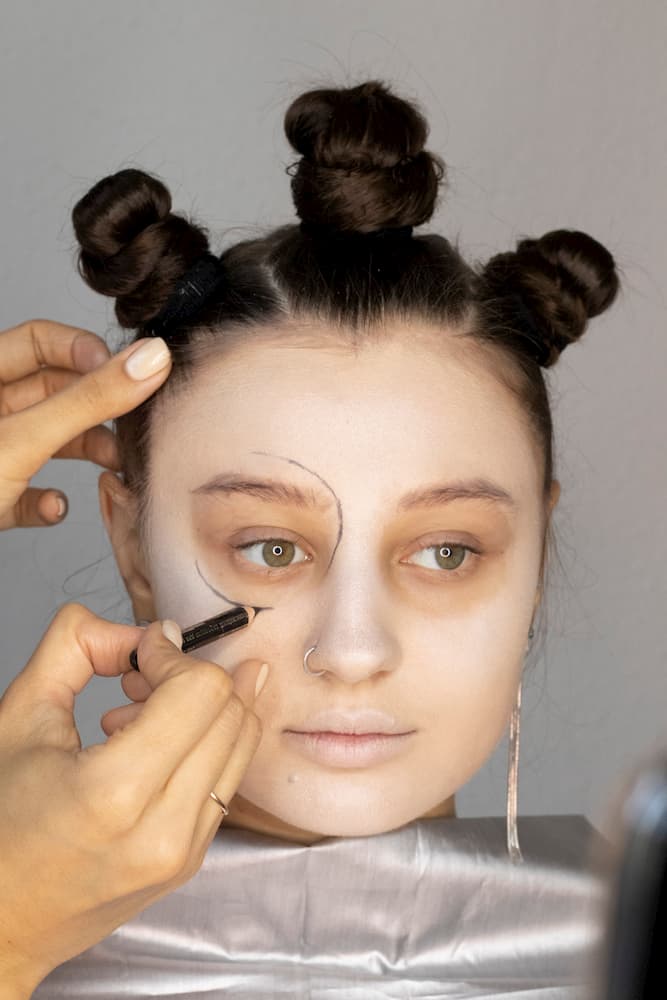
Step 3
Once the foundation is set, draw circles around your eyes with an eyeliner pencil. This will be a guideline to create the deepened eye skull effect. We drew the circles from a little above the eyebrow to the top of the cheekbone. Don’t worry about drawing the perfect shape, you can blend it in later.
The next step you should do is to draw circles around eyes. You can use pencil because it is easy to remove in case of mistake. The idea is to outline the whole area of eyes which you want to emphasize. Don’t worry about making a perfect shape. You can blend it in the later steps.
Step 4
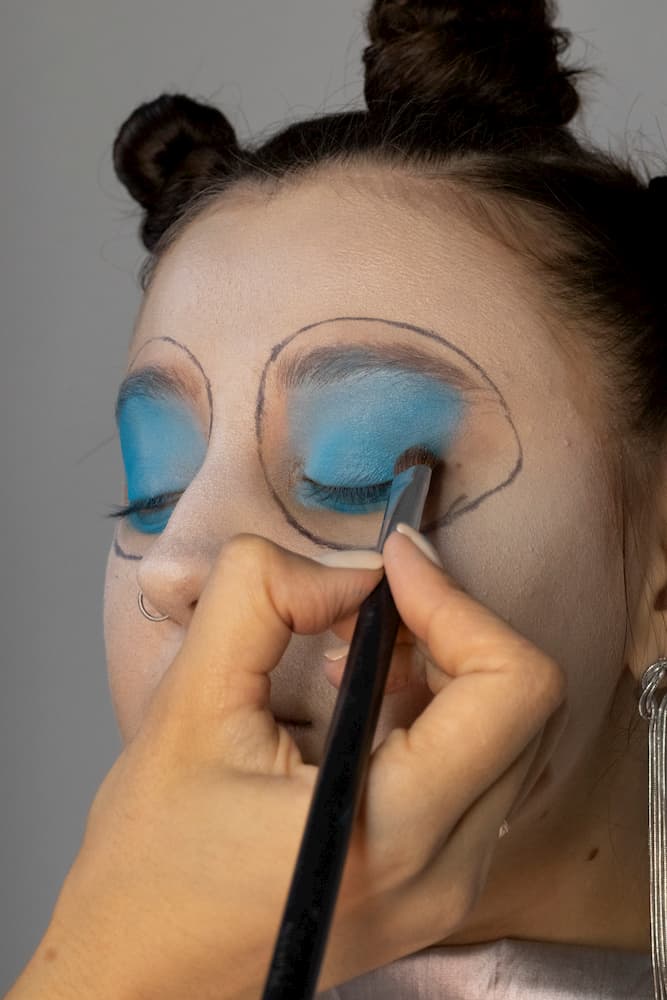
Now it’s time to prime your eyes with a base cream or eyeshadow. This will help the color stick better to the eyelids. After applying the primer, the eyeshadow fun begins! We recommend using three different shades (light, medium, dark) of one color. We used INGLOT Freedom System Rainbow Eyeshadow. First, take the lightest shade and apply from the inner corner to the outer area of the eye. Second, take the medium shade and apply, blending it in from outside of the lightest shade. Lastly, fill in the existing area with the darkest shade, blending it in from the outside of the medium shade.
After step 3, it is better to prime your eyes with a base or cream eyeshadow to let the next colour stick to eyelids better. Then, you need only choose the colour of your makeup and take three shades of it (light, medium, dark) We use INGLOT Freedom System Rainbow Three Color Eye Shadow. Apply the eyeshadow from the inner corner (the lightest shade) to the outer (medium). Fill in the last area of circles with the darkest colour.
Product:
Step 5
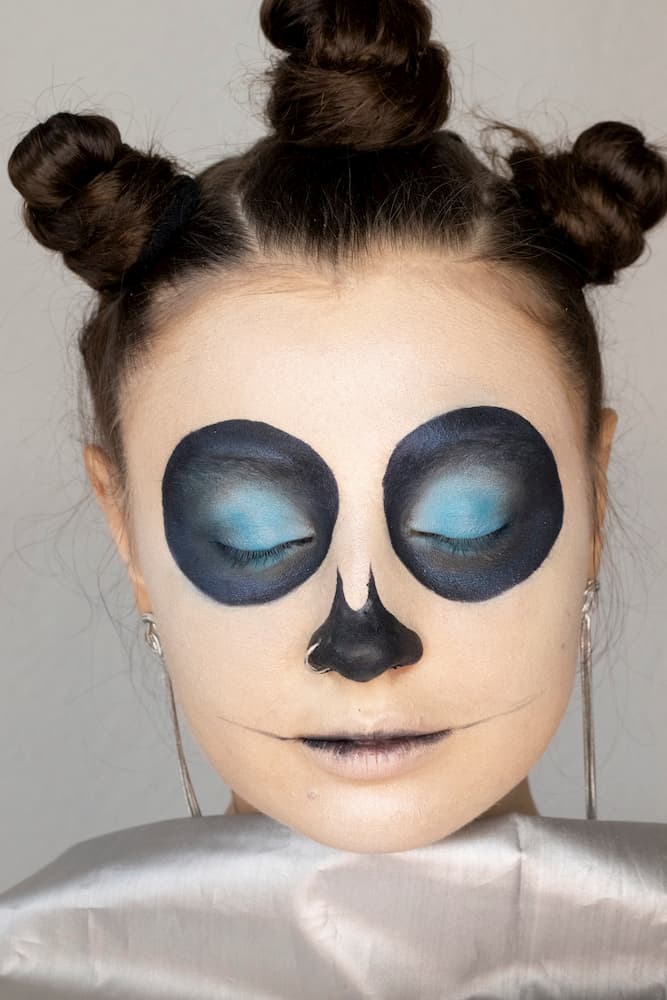
Next, outline the circles with a black gel eyeliner. This creates a more precise, deeper, darker look for the eyes. For the nose, take the black gel eyeliner and draw a “U” shape on the bridge of the nose. Then draw a line down to the bottom of the nose. Use the black gel eyeliner to color it in. For the mouth, lightly draw a horizontal line with the black gel eyeliner from the corner of your lips out. Then add some of the black gel eyeliner towards the inner lip. Draw vertical lines over the lips with the black gel eyeliner to look like stitches or teeth. We recommend making sure that the vertical lines on the top and bottom lip match up.
Take a black gel liner and outline circles around eyes accurately to create the shape more deep, dark and precise. Outline the nose with same gel liner in «U» form. Create a line going outward from the corners of your mouse.
Product:
Step 6
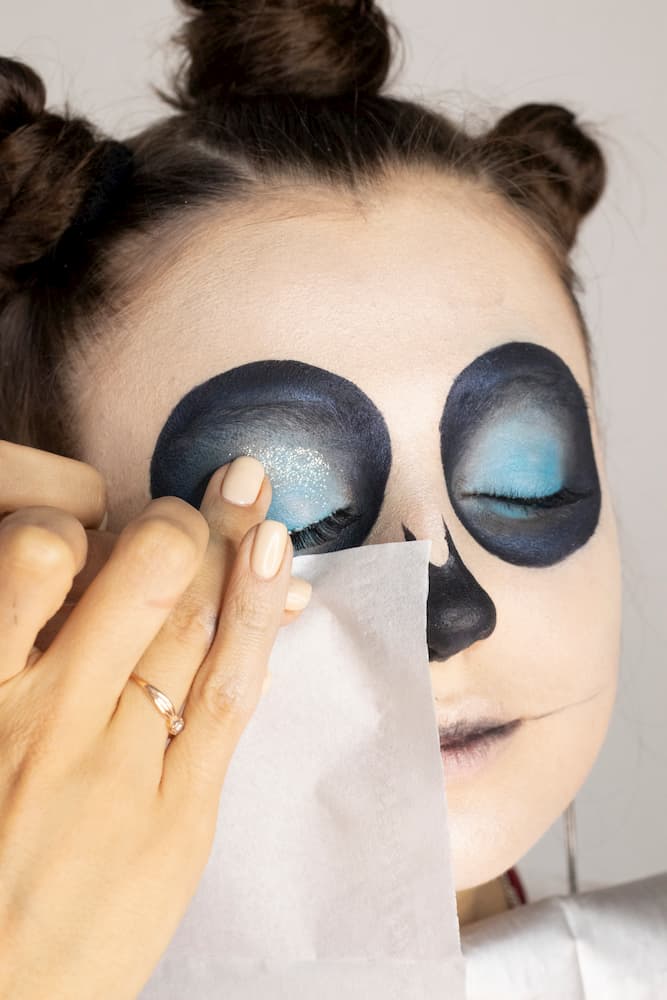
To finish off the eyes, apply false eyelashes with a clear lash glue using tweezers or your fingers. For that extra touch you can apply glitter above the crease of you eyelid. It’s best to use your fingertips instead of a brush. Also, if you don’t want the glitter to get everywhere, place a tissue below your eyes before putting on the glitter.
Apply false lashes using a clear lash glue with your fingers or tweezers. After this, apply glitter on the top of your eyelids. It is better to use fingertips. Sparkles can fall on the face, so it is better to use a tissue.
Step 7
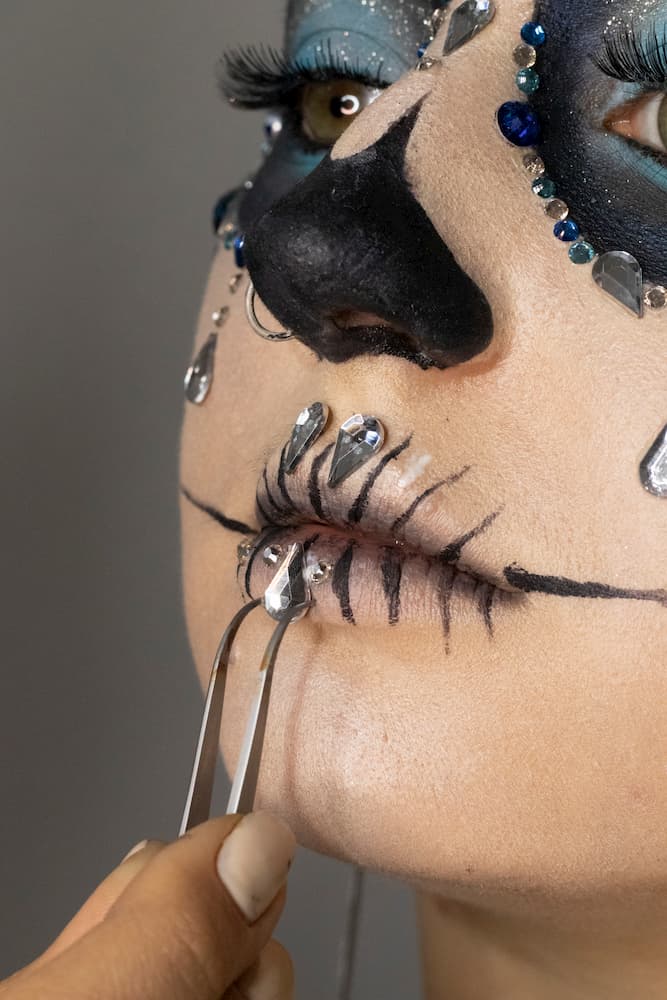
Last but not definitely not least, rhinestones. We recommend using different sizes and colors. Apply the rhinestones with the clear lash glue with tweezers or your fingers. If you don’t have rhinestones, you can also draw in these details with an eyeliner or eyeshadow.
The next step is to apply a final accent of this gorgeous look - crystals. The more different sizes you have, the better will be the final result. We also used some different colours. Apply crystals using the same clear lash glue. You can do it with the tweezers or fingers, whichever is more comfortable for you.
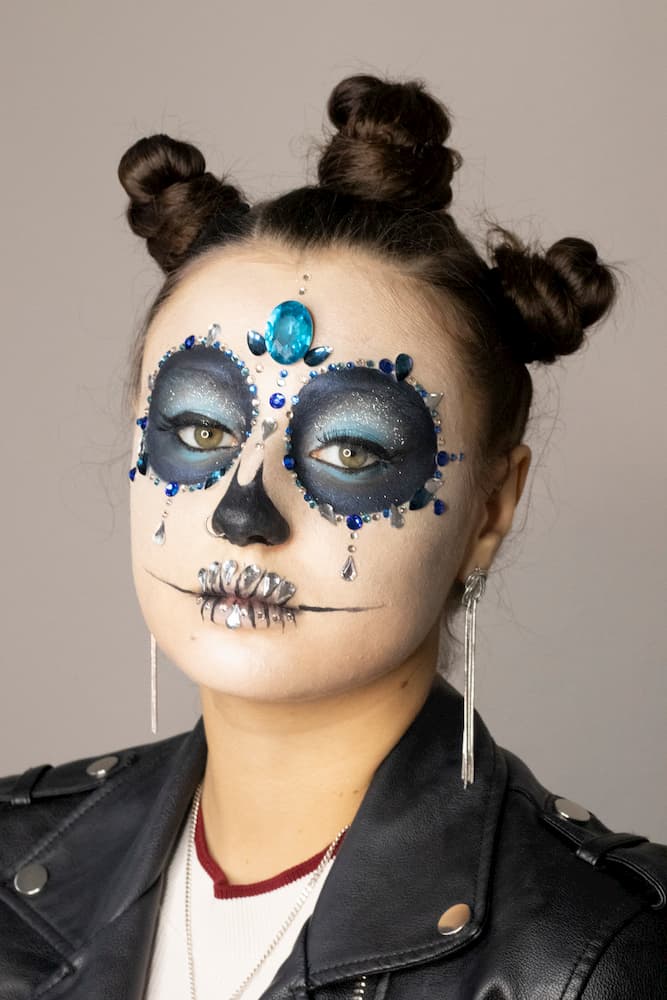
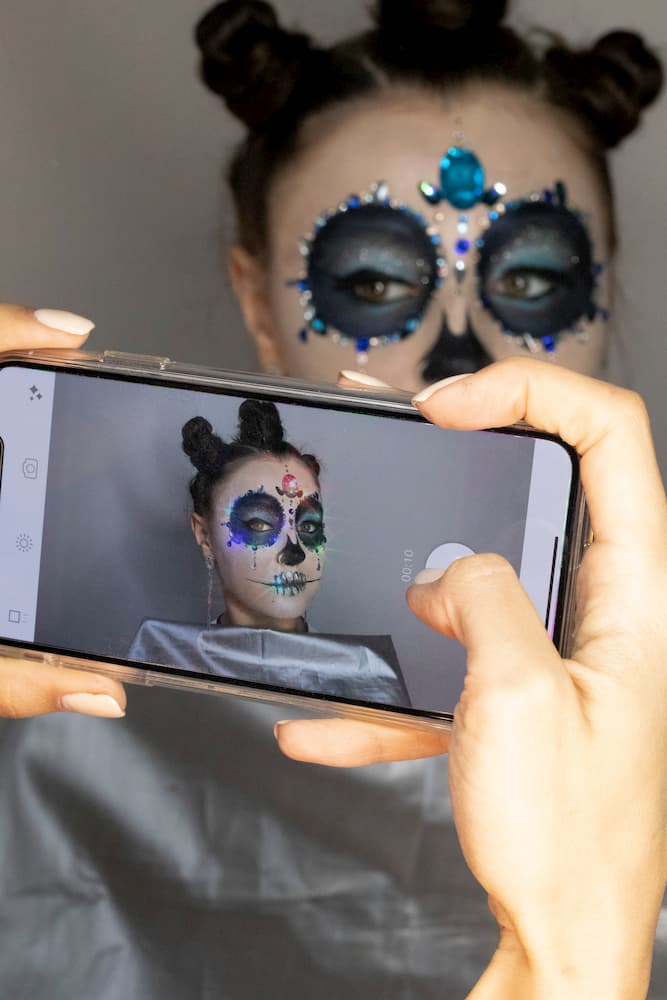
Final Look
Ta-da! Our final Dia de Muertos look! When creating this look, remember to have fun and make it your own!
And here is our unforgettable final look… Add your own creativity to your makeup and get your own amazing Day of the Dead makeup.